Frontend Installation
Installation process
- Local Setup
- Server/Aapanel Deployment
Frontend Local Installation Process
Step 1:
- Open the folder first.
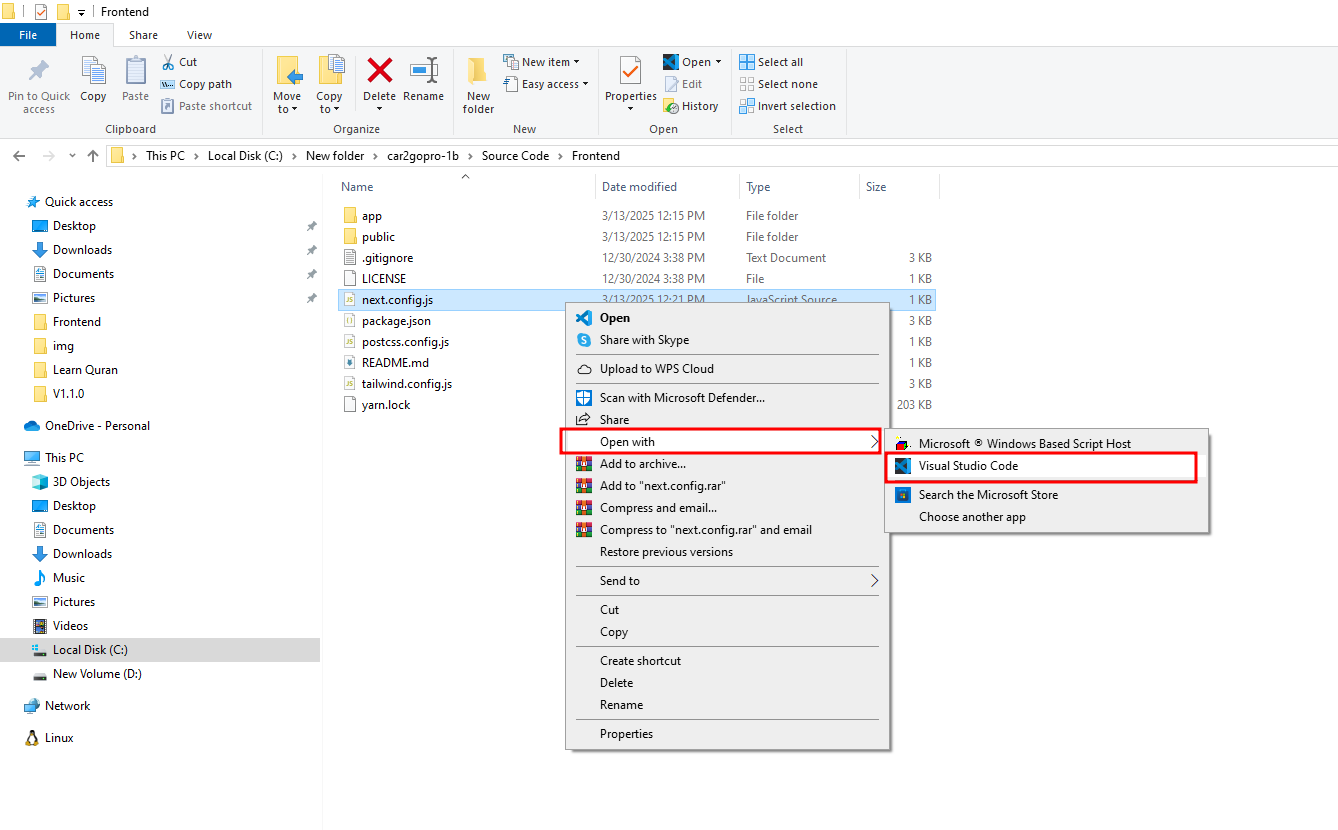
Step 2:
- Find the next.config.js file and open it in your preferred text editor.
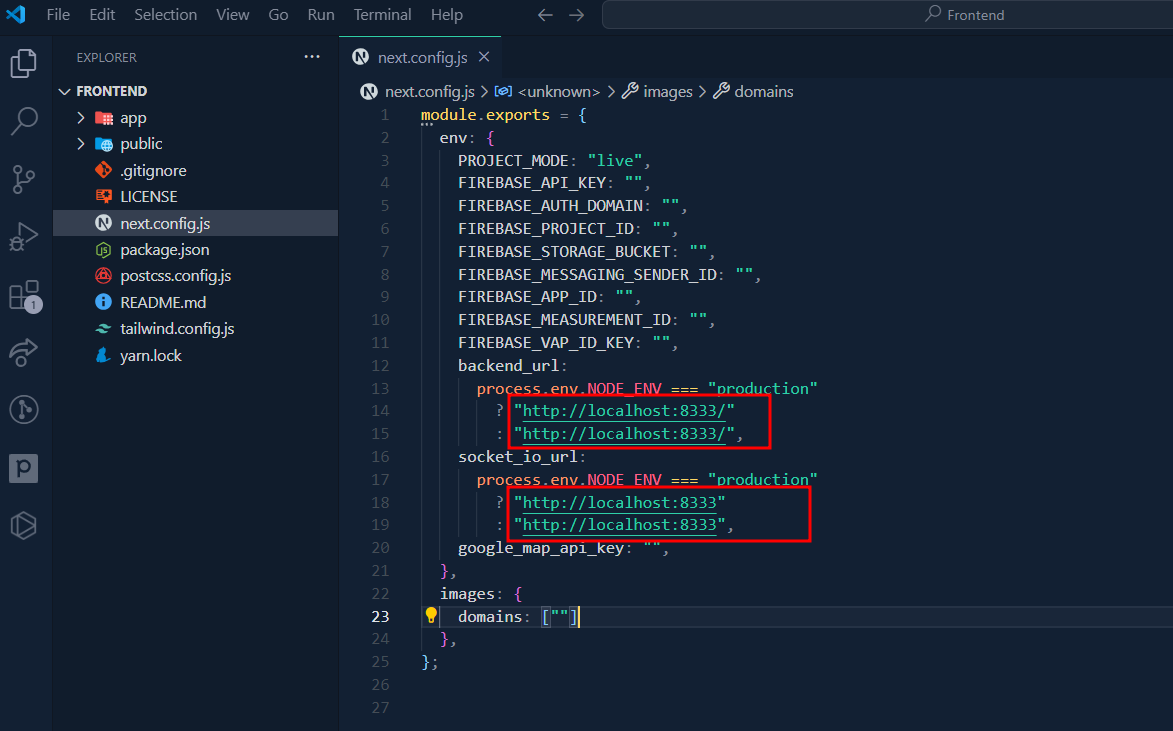
next.config.js example
Step 3:
- Update the necessary information in your website configuration, such as the
backend_url, socket_io_url, FIREBASE_API_KEY, FIREBASE_AUTH_DOMAIN, FIREBASE_PROJECT_ID, FIREBASE_STORAGE_BUCKET, FIREBASE_MESSAGING_SENDER_ID, FIREBASE_APP_ID, FIREBASE_MEASUREMENT_ID, FIREBASE_VAP_ID_KEY, google_map_api_key. Ensure you provide your personal backend domain or subdomain URL, and update the images domain URL as well. If you want to connect locally, add the local URL.
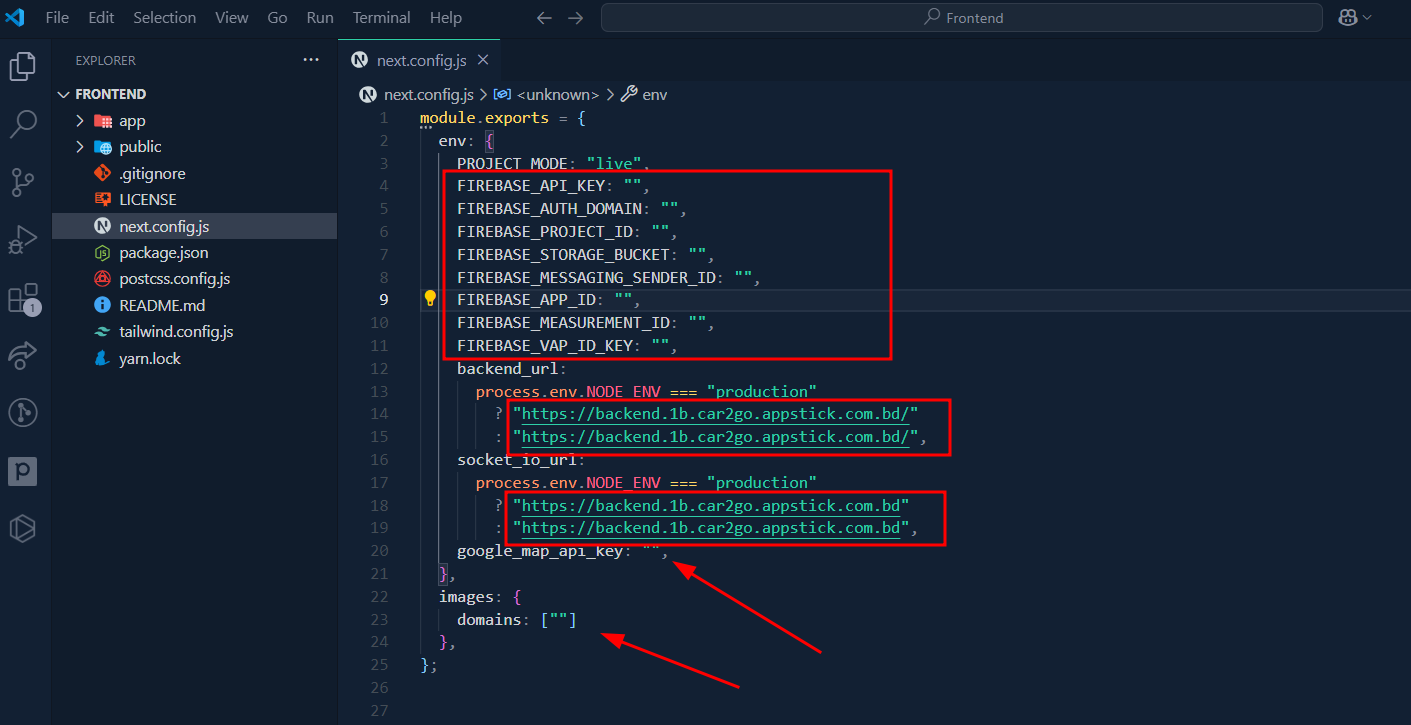
- Local Backend URL Example: http://localhost:8333/
Step 4:
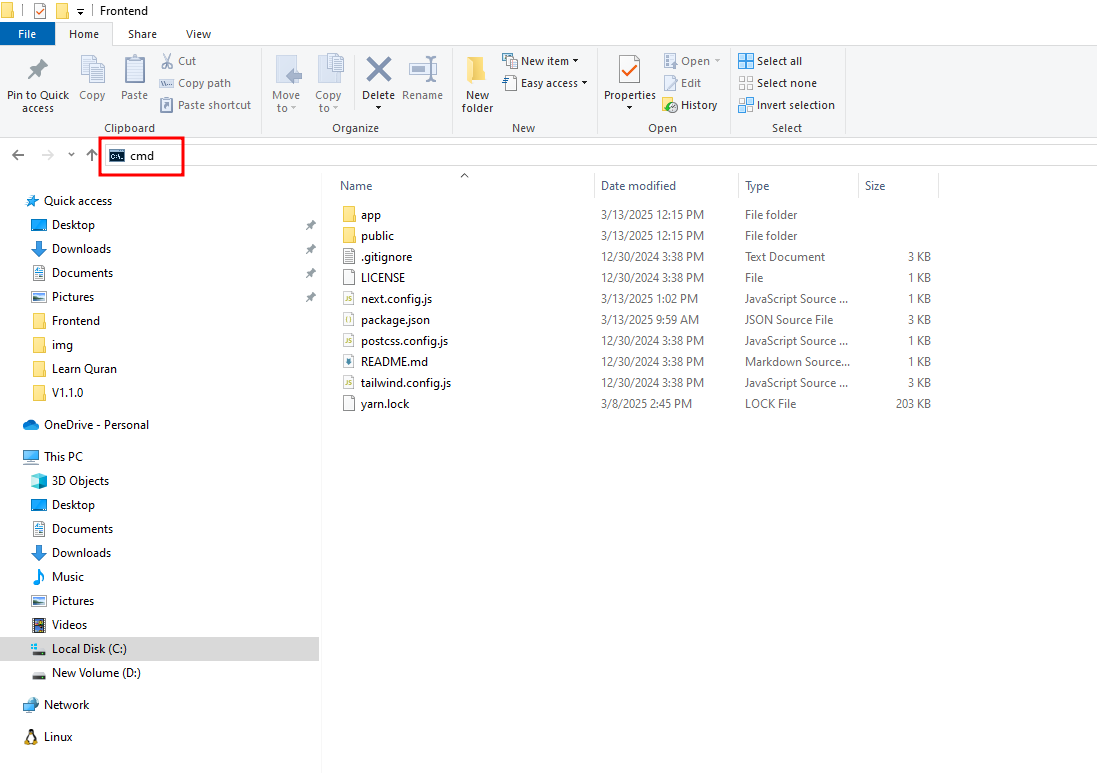
- Open your terminal or command prompt:
- For Mac and Linux users, use the terminal.
- For Windows users, open the address bar and type
cmdto launch the Command Prompt.
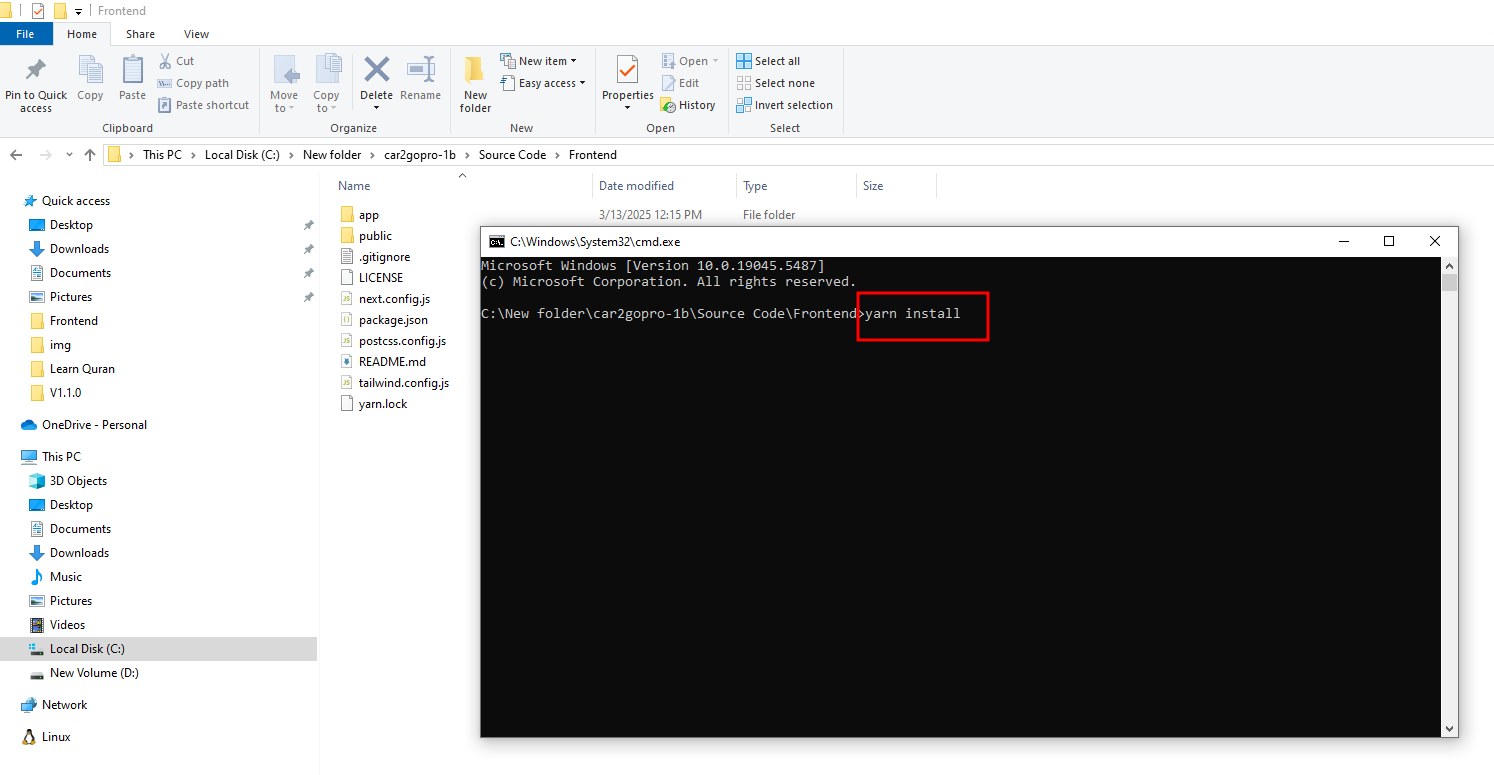
Step 5:
- In the command prompt, run the following command:
yarn installand hit enter.
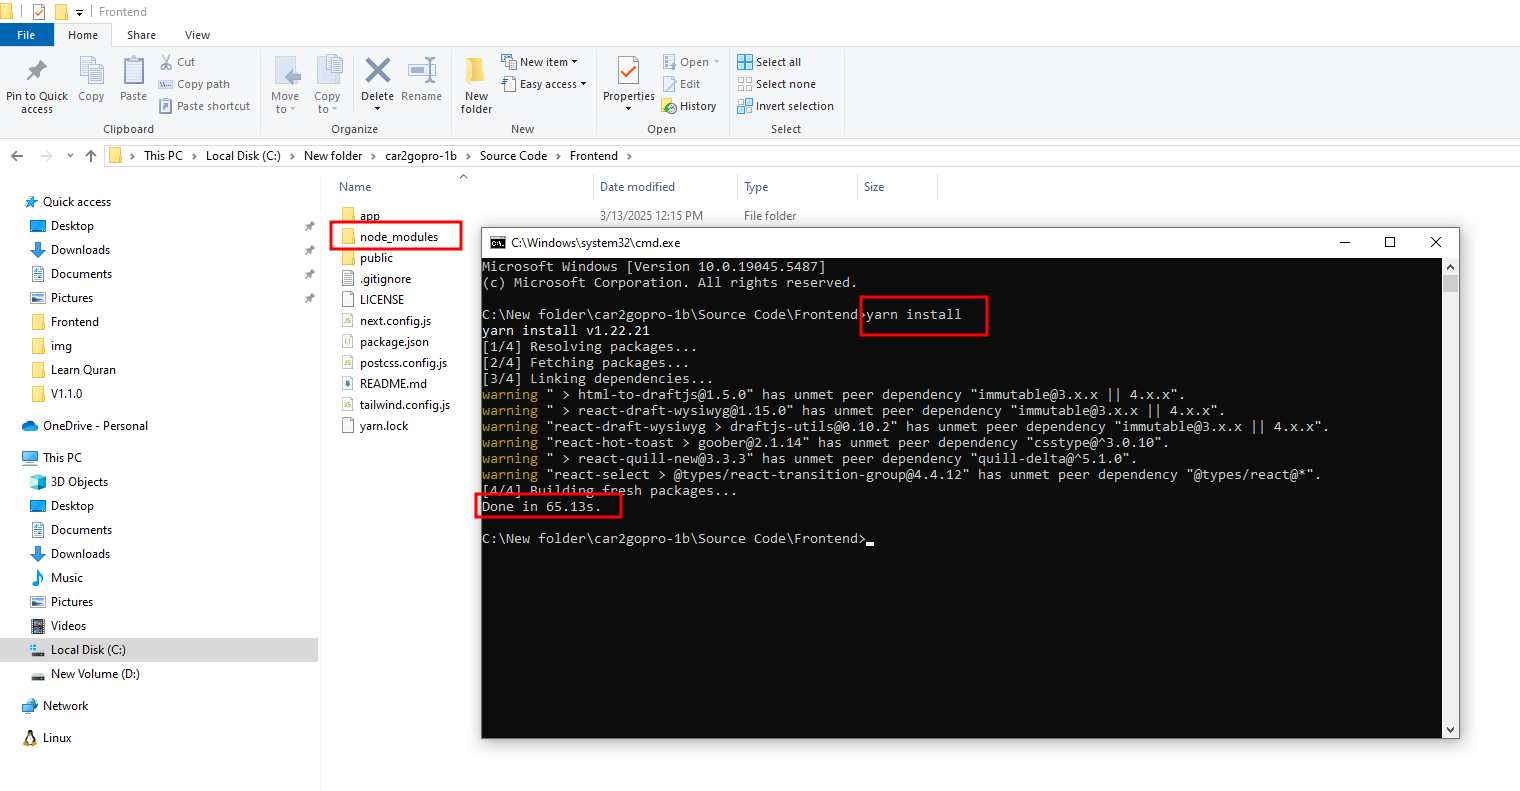
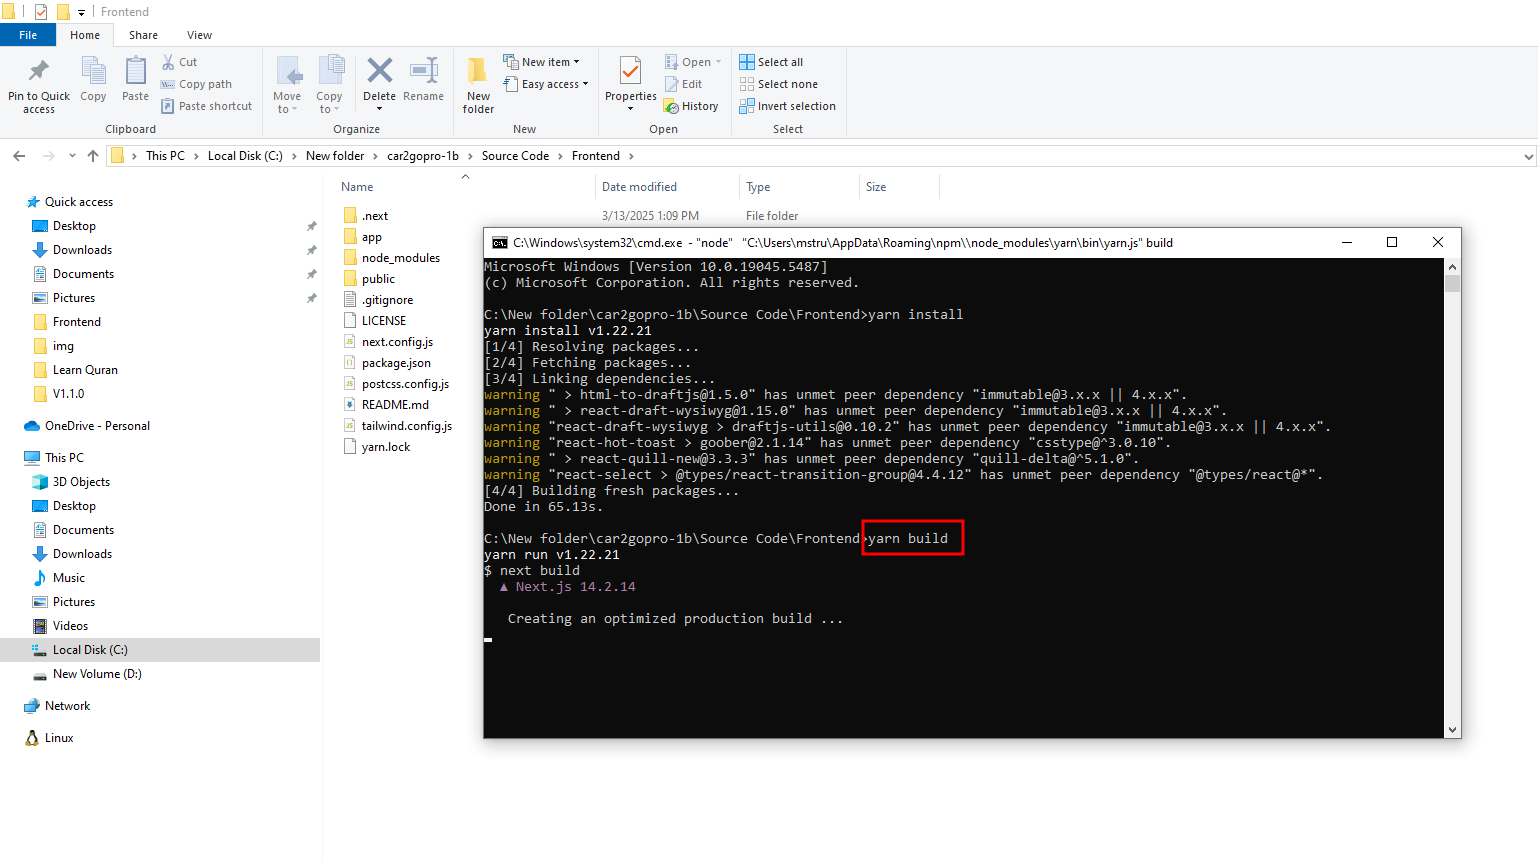
Step 6:
- After the installation is complete, build the project by running:
yarn buildand press enter.
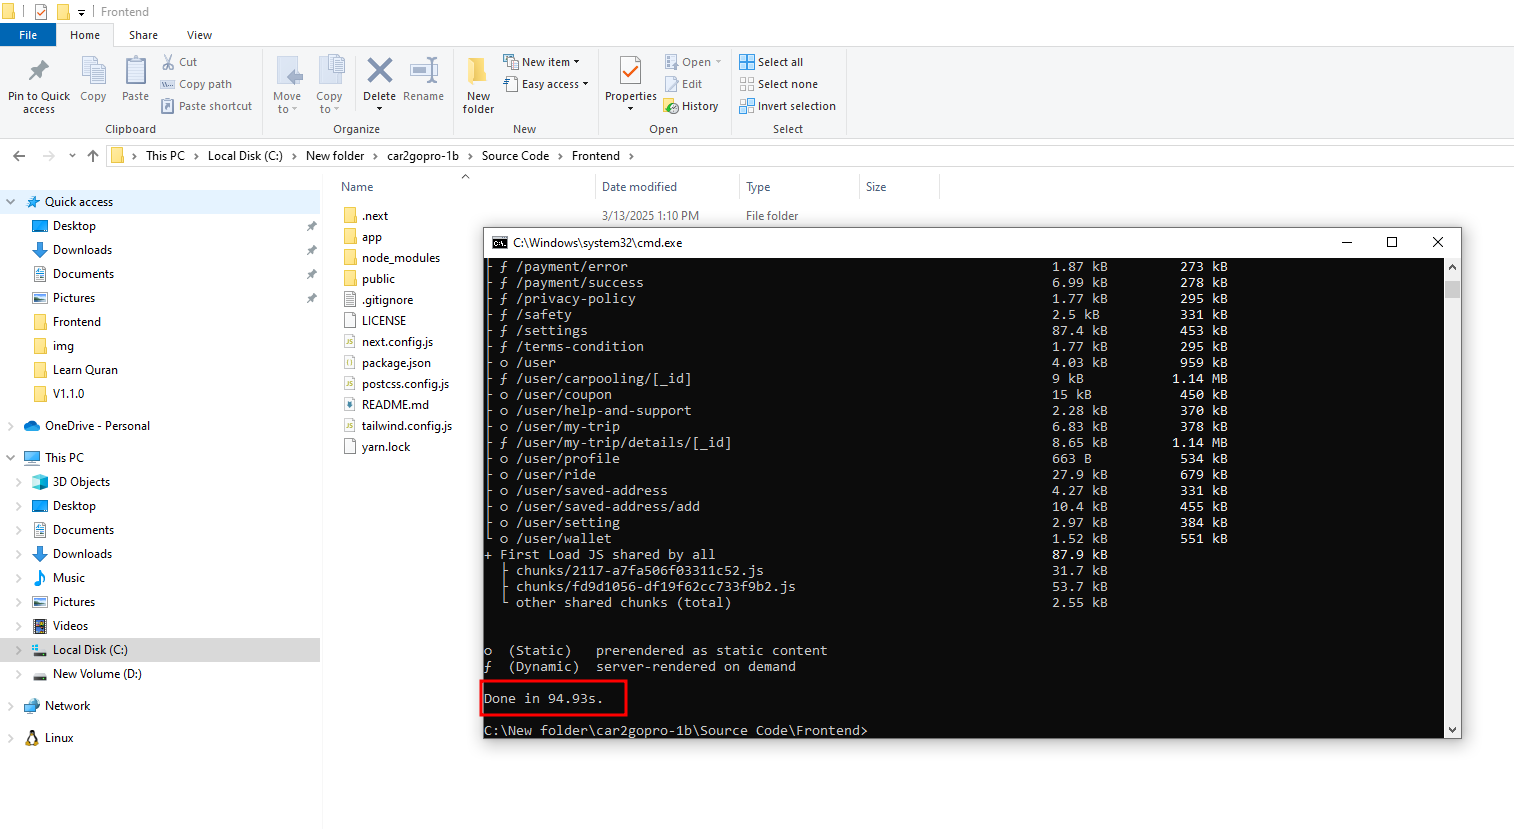
Step 7:
- Once the build is successful, you should see a confirmation message.
Step 8:
- Finally, you can run the project locally by typing:
yarn startand hitting enter.
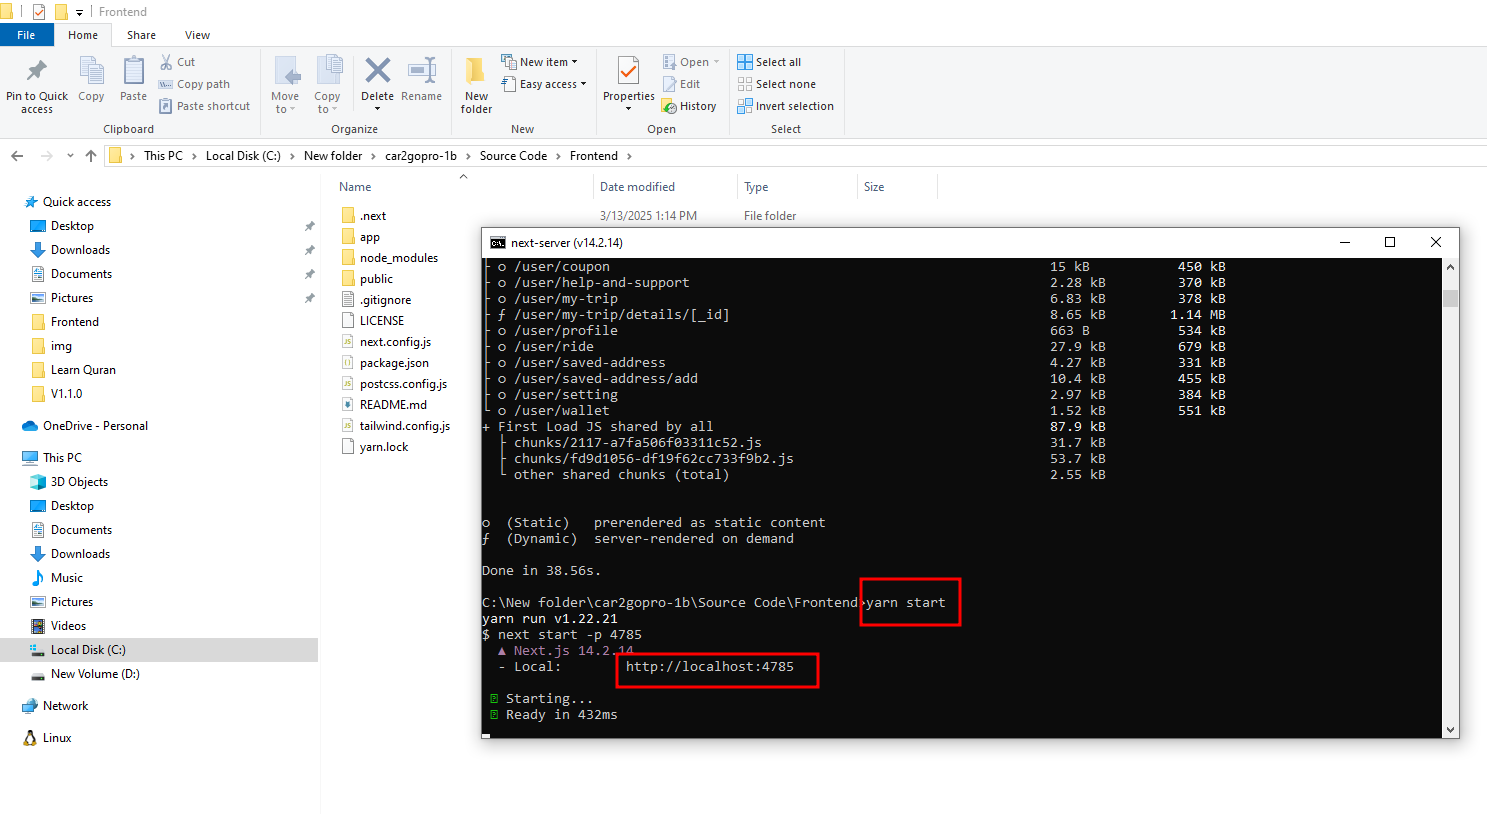
success
Now your Frontend is running locally. You can access it via localhost:port.
Frontend Server/CPanel Deployment Process
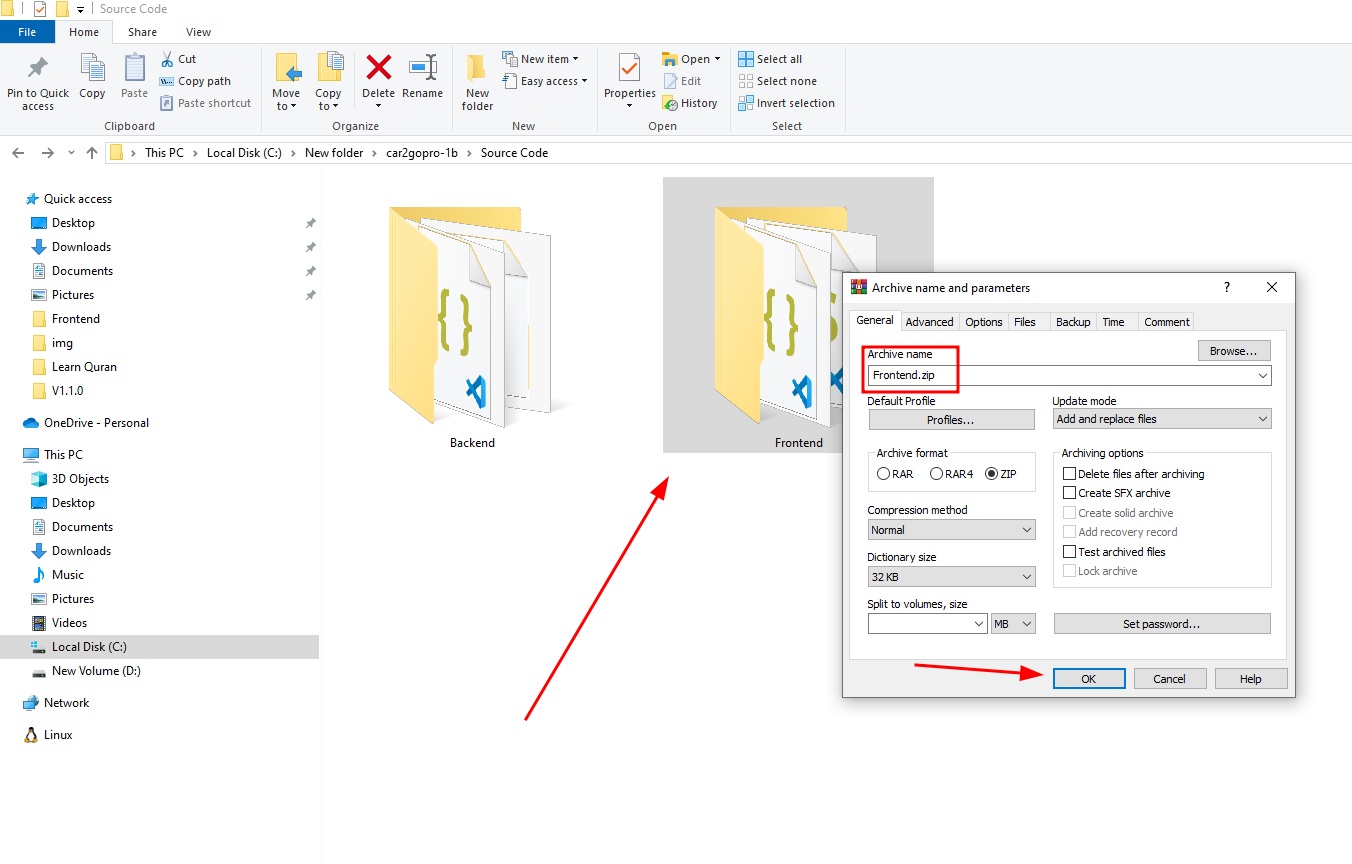
Step 1:
- Zip the
Frontendfolder and upload it to your server.
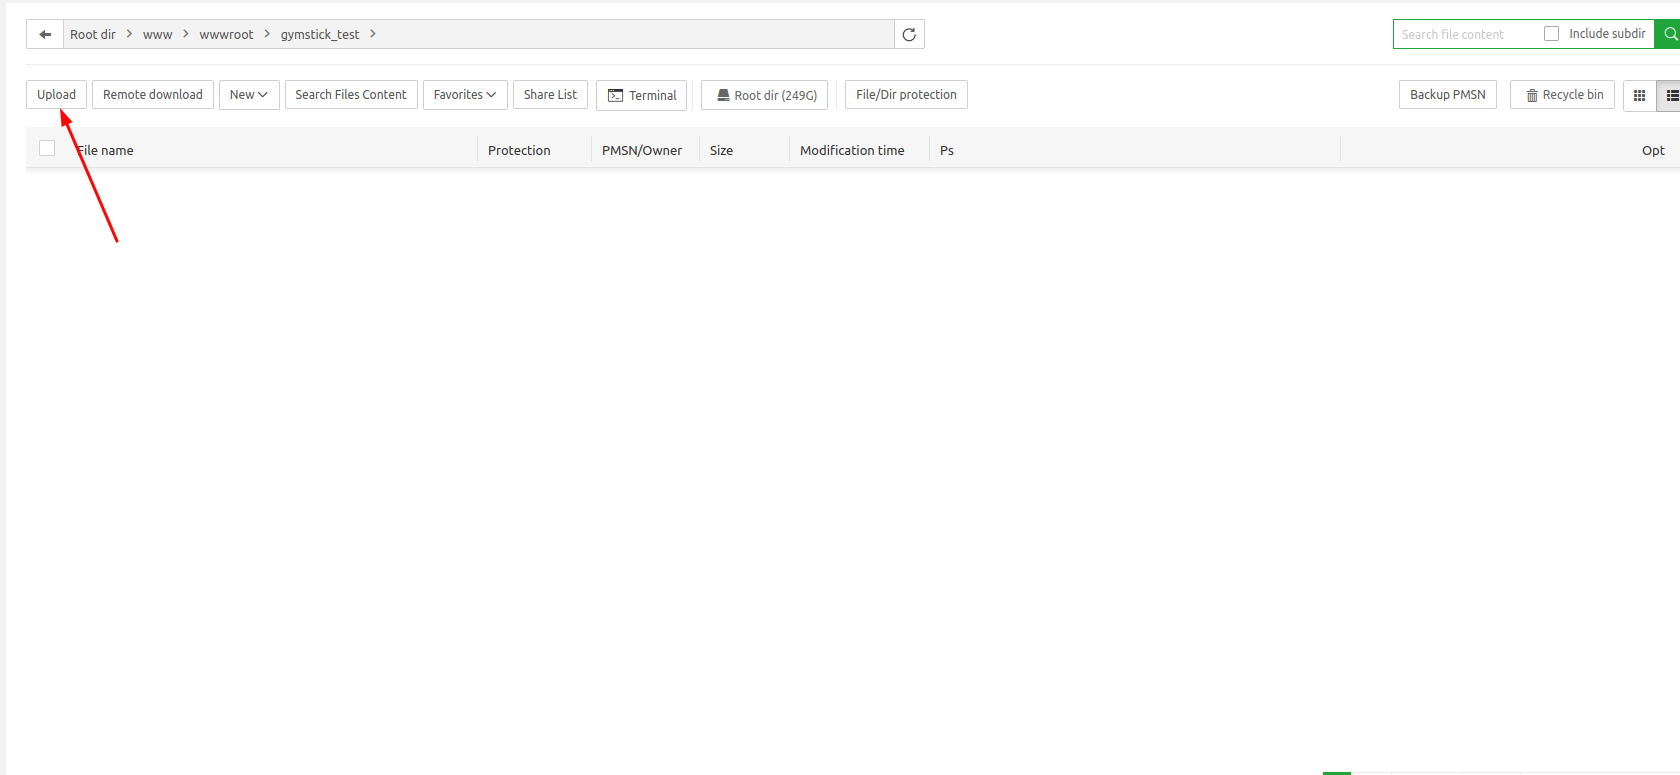
Step 2:
- Go to your server panel or cPanel, select your Document Root, and right-click on your mouse.
Step 3:
- Now follow the
backend installationprocess from Step 2 to Step 8 (Skip step - 3).
warning
Note : In Step 6 of the backend installation process, in the domain name section, please confirm that it will be the root domain (Not a subdomain). For example, your_main_domain.com.
Step 4:
- After successfully completing all the processes, your website will go live. Visit your domain URL, for example, your_main_domain.com.